Monday, 7 March 2011

Sleepover Treat Bags

Made these bags for my daughter's birthday sleepover at the weekend.


They're just white bags decorated with some stamping, die cuts and I made these bottle cap charms.


I've seen them a lot on the internet, they're beer bottle caps (the kind used for home brewing) and they're easily flattened using the cuttlebug/bigshot or rubber hammer).  An inch circle fits perfectly in the middle of them, so I just stamped on their names, added a bling heart then coated them with glossy accents.  First time I've tried this and in hindsight the names would have showed up better if I'd just used white card instead of kraft.  When dried, I just punched a hole with the crop-a-dile and added a bit of ribbon.

Bags contain face mask, nail varnish, nail file, hairband and of course a bag of midnight feast choccies.


A good time (and not much sleep) was had by all!

Happy Crafting
Suze x

Sunday, 6 March 2011

"One Layer Wednesday" Challenge

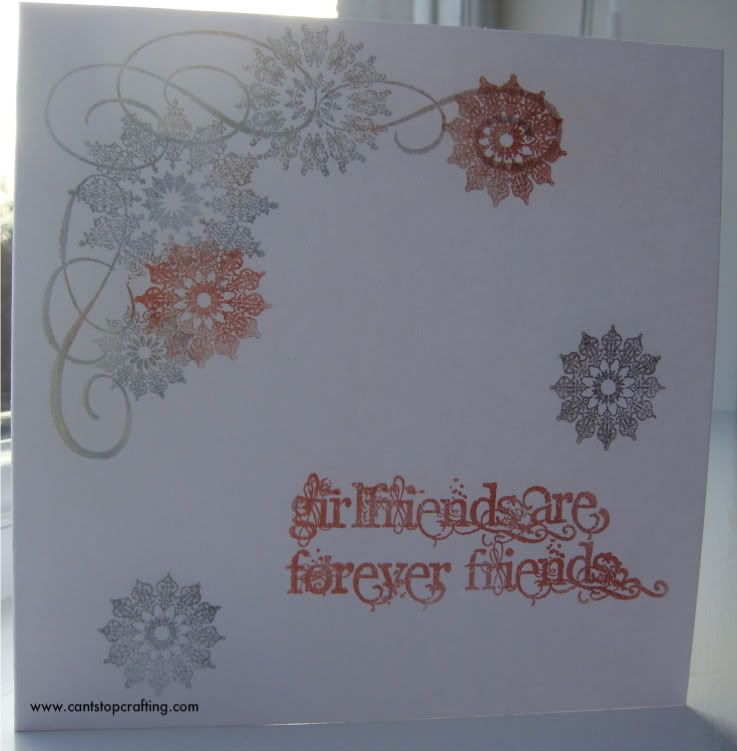
This is the second week I've entered into the 'One Layer Wednesday' challenge and this week the challenge is to use SHIMMER and not bling or glitter.

Well this has been another learning curve, because I've used Perfect Pearls for the first time.

This is the first card I made (I didn't think it was good enough so I made a second one but that turned out worse - I tried using a new stamp set which didn't stamp too well).  I'm not that happy with it but I'm going to enter it in anyway - we all have good days and not so good days ! Lol.


Another pic which I think shows the shimmer better.


TPC Studio 'Girlfriends' stamp set
Versamark
Perfect Pearls - perfect copper, kiwi, blue smoke.

Happy Crafting
Suze x

"Less is More" Challenge

I'm submitting another card for the Less is More challenge this week as I think the image on my first card was too fussy for CAS (I think I just got carried away with wanting to use one of my new stamps!)

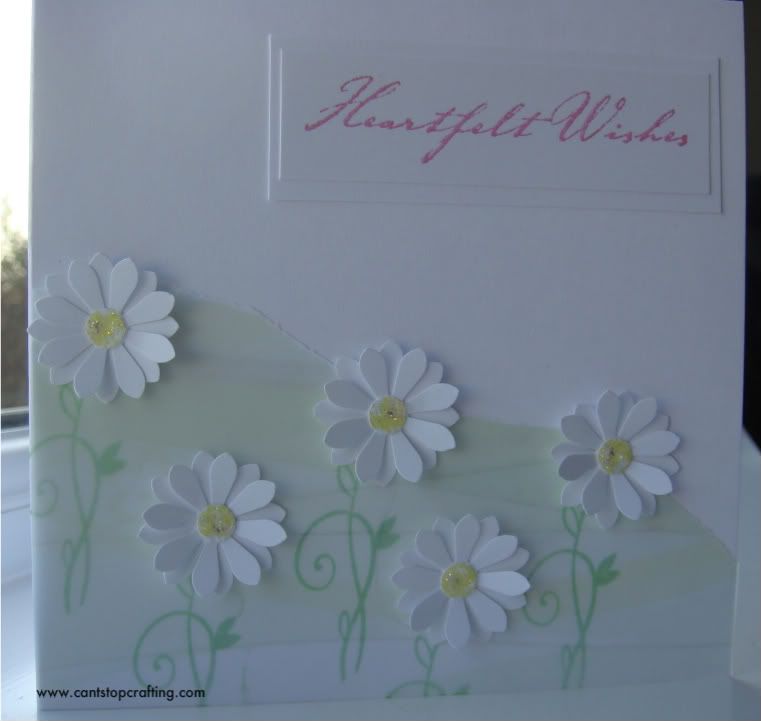
So here's something different.  My thought initially was just to do a simple chain of daisies but after much faffing about (as you do) this is the end result:


I stamped the daisy stems onto the card base and overlaid it with a torn piece of vellum. The daisy heads were made with a punch, coloured paper centre & stickles.  Hope this one is more appropriate for the challenge!

Foliage Stamp - Stampin Up Itty Bitty Buds
Sentiment - Hero Arts
Green variegated vellum & yellow DP
Inks - Stampin Up Green Galore & Dew Drop Orchid
Flower Punch, Stickles, Stamp-a-ma-jig

Happy Crafting
Suze x

Saturday, 5 March 2011

"Less is More" Challenge

The theme this week over at the "Less is More" Challenge is 'Pastel Colours'.  I panicked a bit when I read it but actually it wasn't as daunting as I first thought!

Can't believe I'm actually submitting my post on the first day - amazing what you can do when you set your mind to it (and your kids are occupied elsewhere!!).

So here's my entry:


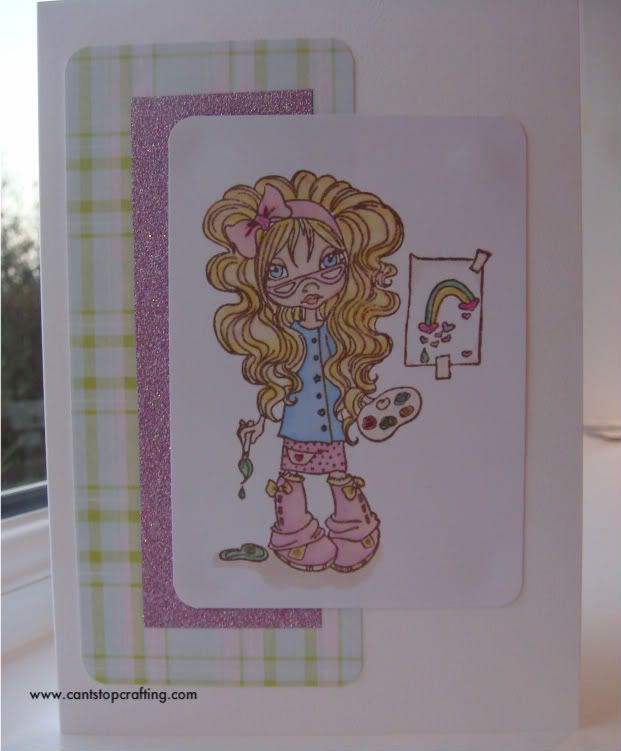
One of my new Simply Sassy girls which I acquired yesterday, coloured with Promarkers (with a touch of Sakura Gelly Rolls), mounted onto glitter paper and DP.  I've used a 5 x 7 card .

I haven't added a sentiment as I thought there was enough on it as is!

Simply Sassy Artistic Goddess
Promarkers/Sakura Gelly Rolls
Adhesive Glitter paper from Hobbycraft
Papermania Summer Bloom DP

Happy Crafting
Suze x

Simply Sassy - Hippie Chick

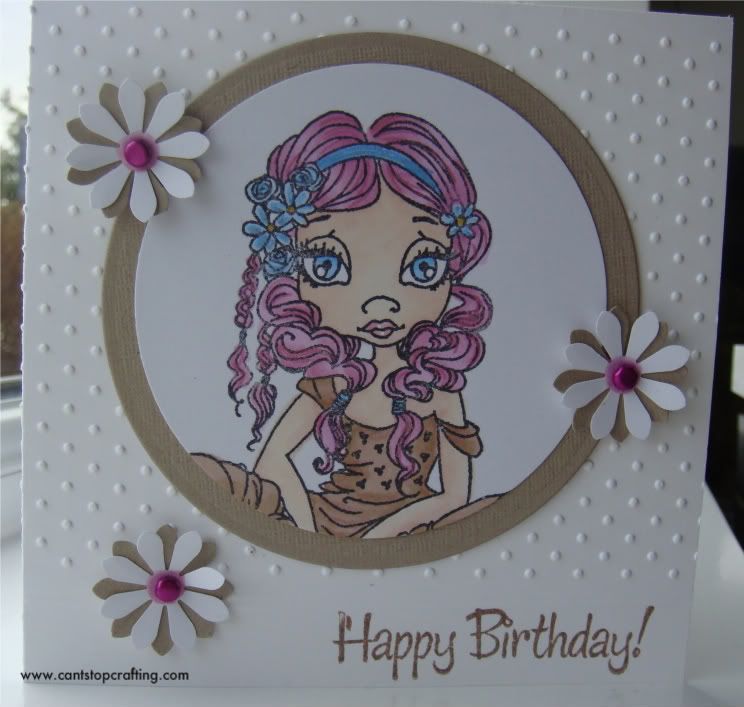
Made this card for my gorgeous daughter Emz, who is 12 today.


Image is Simply Sassy - Hippie Chick, coloured with promarkers and sakura gelly rolls
Card is Stampin Up whisper white and textured crumb cake
Cut with circle nestabilities
Swiss Dots embossing folder
flower punch and brads

HAPPY BIRTHDAY EMZ!!
(that's her now suitably embarrassed!).

Happy Crafting
Suze x

Thursday, 3 March 2011

Vintage Teacup Card

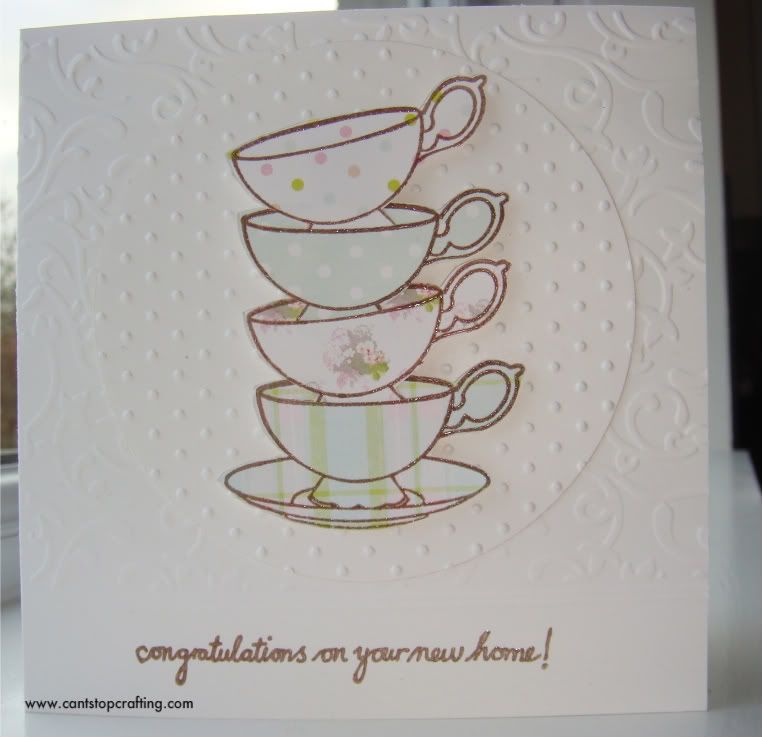
I made this card for my niece and her fiance who have just bought their first flat.  Last time we met she said that when they had their own place she wanted to start collecting vintage teacups, so although the card is a bit girly, I felt it was perfect for her.

I have also been inspired by white on white cards that I have seen other cardmakers do.  I really like how it keeps it clean & simple, without being too plain and boring!


I partially embossed the card base, then added two embossed lines to make a 'panel' underneath to stamp the sentiment.
Teacup stamp was stamped and clear embossed four times onto various patterned papers (I just made a slit in the rim of the teacup and popped the next cup into it to stack them up).  Teacups were then mounted onto an embossed circle.
Sentiment is clear embossed.

Stampin Up whisper white card
Teacup stamp - free with Craft Stamper magazine
Sentiment - Woodware Home Sweet Home stamp set
Versamark vintage sepia ink, clear embossing powder
Victorian Fleur & Swiss Dots embossing folders

EDIT
Thought the card needed something else, so I added a few flowers to soften the edge of the embossed circle.


Happy Crafting
Suze x

Wednesday, 2 March 2011

Shrink Plastic

Bought a small pack of clear shrink plastic ages ago from Hobbycraft, so, as we all do, instead of doing the housework, I decided to have a play.

Well, I have to say, "frankly, darling, it was a disaaaaaster!.

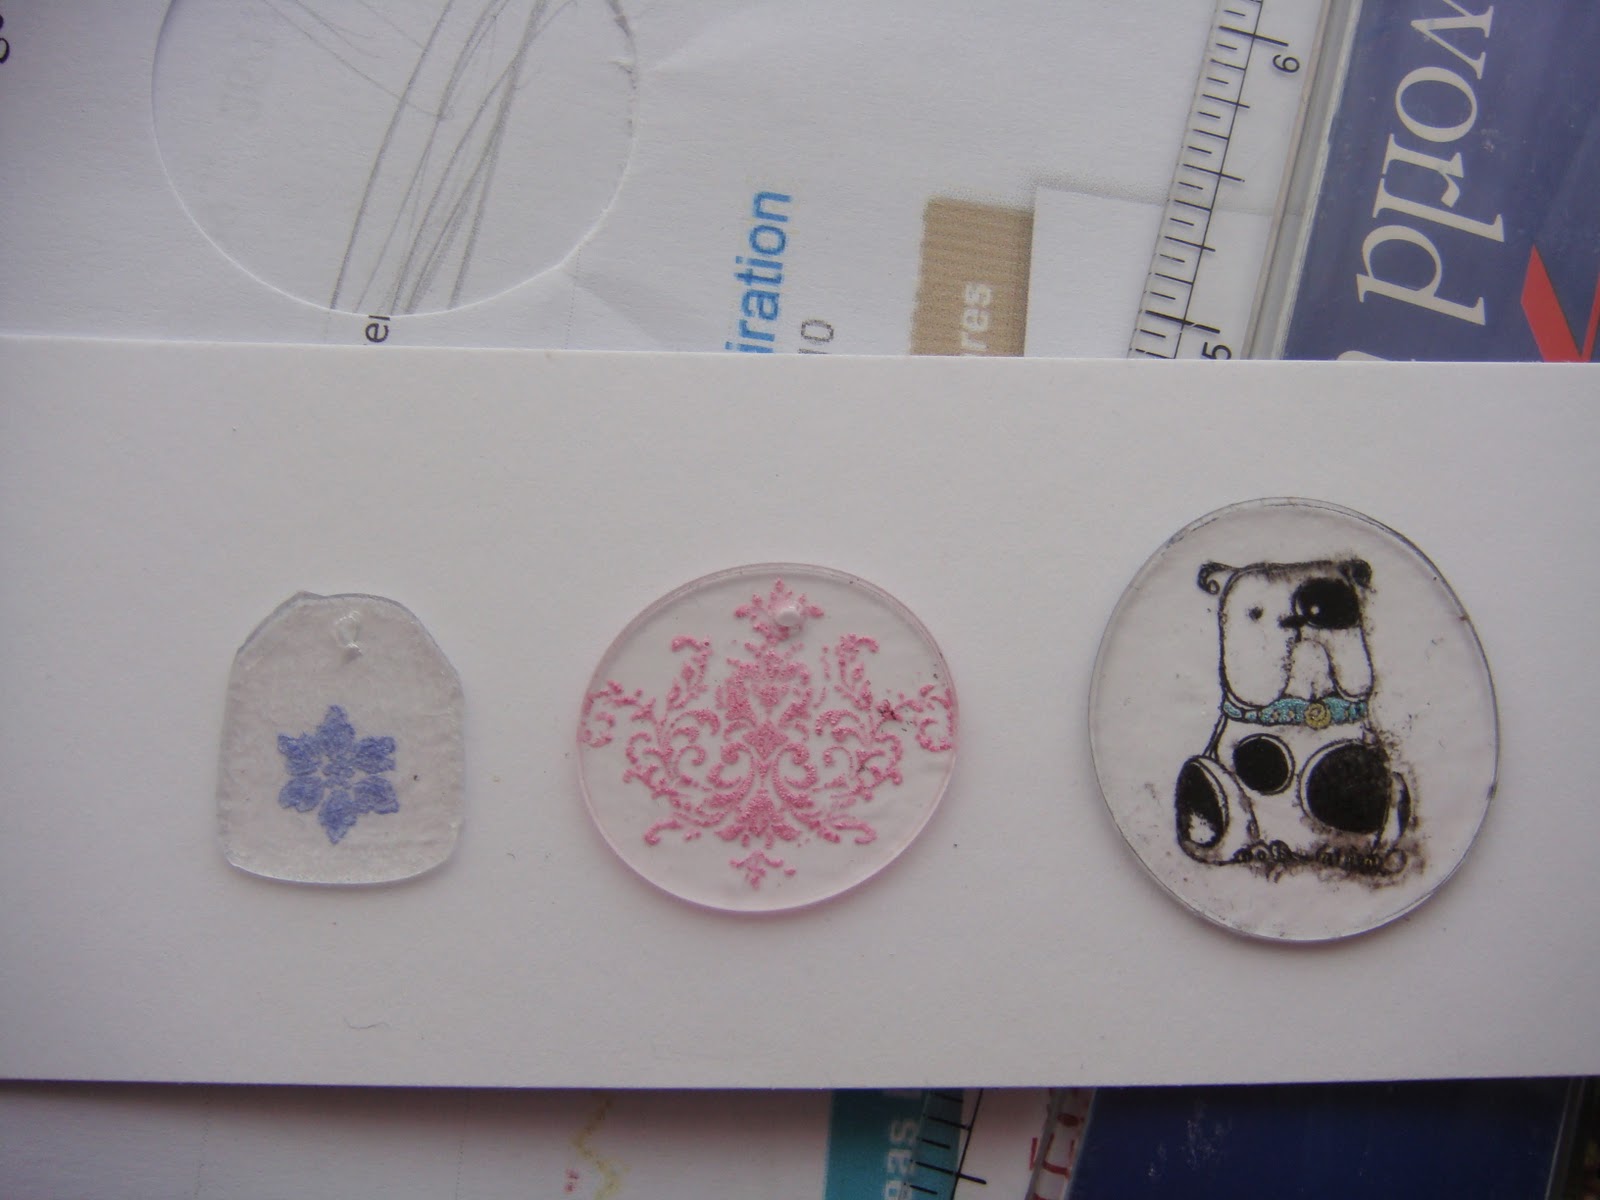
I punched a circle out with a nestie and stamped a doggie image onto it.  Then added a little bit of colour with Sakura Gelly pens.  The ink wasn't dry but I 'assumed' the heat from the heat gun would dry it.  Well I can tell you, it doesn't!  It ended up all smudged .....


So I cut out another circle and tag shape, stamped them up and left them to dry (thought it might take an hour or so but I had to leave them overnight before they were completely dry).


Shrunk them with the heat gun and this is the results ....


Frankly, they're rubbish and are no use for anything!  but I'll probably have another go at some point. One thing I did learn is that the larger the piece of plastic you work the better the results seem to be i.e. the doggie circle has kept it's shape better than the smaller pieces.

Any tips gratefully received.

Happy Crafting
Suze x