Well, I have to say, "frankly, darling, it was a disaaaaaster!.
I punched a circle out with a nestie and stamped a doggie image onto it. Then added a little bit of colour with Sakura Gelly pens. The ink wasn't dry but I 'assumed' the heat from the heat gun would dry it. Well I can tell you, it doesn't! It ended up all smudged .....

So I cut out another circle and tag shape, stamped them up and left them to dry (thought it might take an hour or so but I had to leave them overnight before they were completely dry).

Shrunk them with the heat gun and this is the results ....
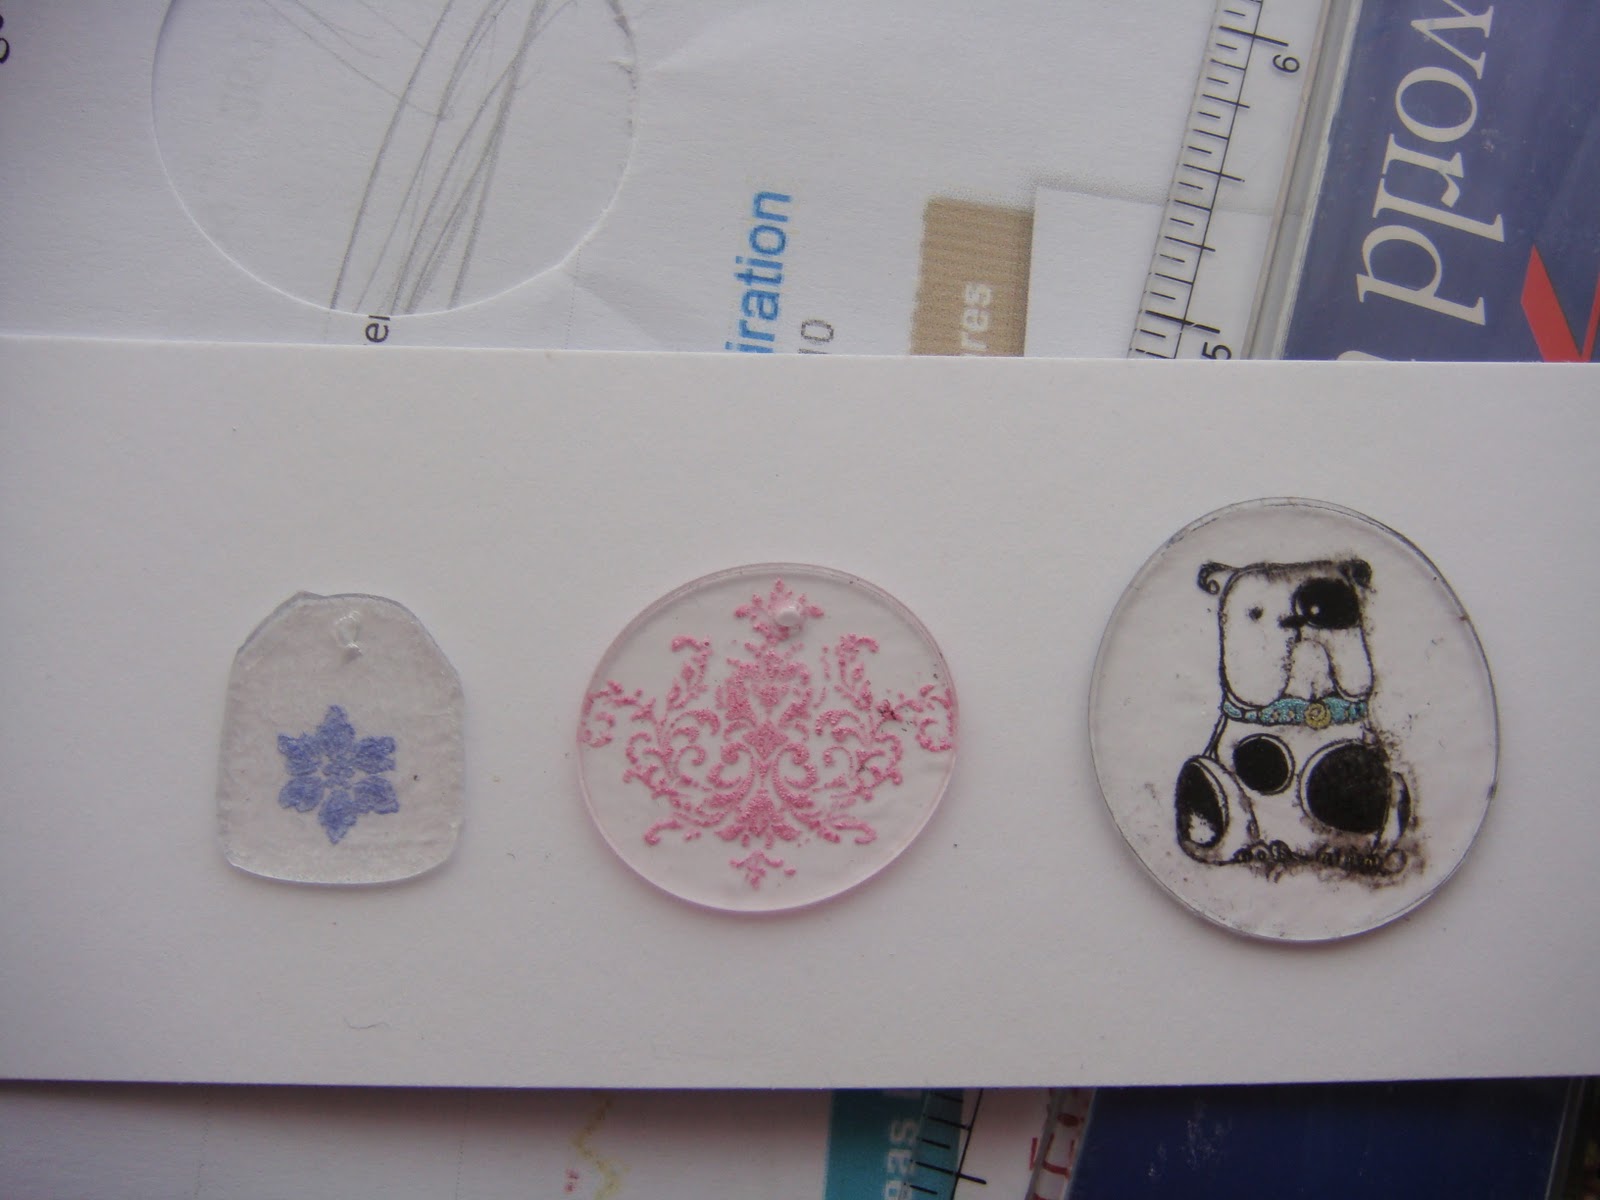
Frankly, they're rubbish and are no use for anything! but I'll probably have another go at some point. One thing I did learn is that the larger the piece of plastic you work the better the results seem to be i.e. the doggie circle has kept it's shape better than the smaller pieces.
Any tips gratefully received.
Happy Crafting
Suze x
5 comments:
Oh dear Suze, hate it when it doesn't go right. I haven't tried shrink plastic other than the kiddie kind where you put it in the oven! Keep trying xx
Hi Suze, That dog is so cute even though he is a bit smudged! Actually, I think he looks rather good. Looks like he's been up to no good in the garden! I have tried shrink plastic but didn't have much success, so gave up. So I can't give you any tips I'm afraid. I suppose it's a case of keep trying but it does get a bit frustrating. Hope someone else can help you.
I havent used this yet either, but was going to have a try tonight - so thanks for the advice xxx
Hi Suze
Check out sugar nellie - simply sassy blog. They have posted a shrink plastic tutorial today. x
Lovely cup shape, love the stacked cups and the embossed background.
Post a Comment